Enable Buy Me a Coffee to your Github Open Source Project
You'll learn how to quickly set up a Buy Me a Coffee button for your open source project on GitHub.
A Filipino self-taught software engineer, open-source maintainer, cybersecurity researcher, tech community builder, Web3 enthusiast, and technopreneur from the Philippines. 💻💖☕
Just recently, Buy Me a Coffee announced support for GitHub sponsors. This is really BIG news for open-source maintainers like me, as we have been fighting for it for years.
This means that Buy Me a Coffee now supports its own syntax for the FUNDING.yml file, which is buy_me_a_coffee followed by your username. It displays like this.

Beautiful right? This is like a dream come true for me as compare before it displays like this as we use custom syntax just to support Buy Me a Coffee platform.

This is a significant improvement after years of waiting! If you're curious about which platforms are supported, you can learn more about the GitHub sponsors button here.
Alright, now that we understand what this is all about, I'll show you how to enable this feature on your open-source project. This way, your users can support your project by actually buying you a coffee. ☕
Without further ado, let's get started! 🚀
Steps
Clone your GitHub project repository.

In my case, I prefer to use GitHub CLI as it is convenient for me to clone projects easily in my local machine. You can use whatever you prefer to clone your project.
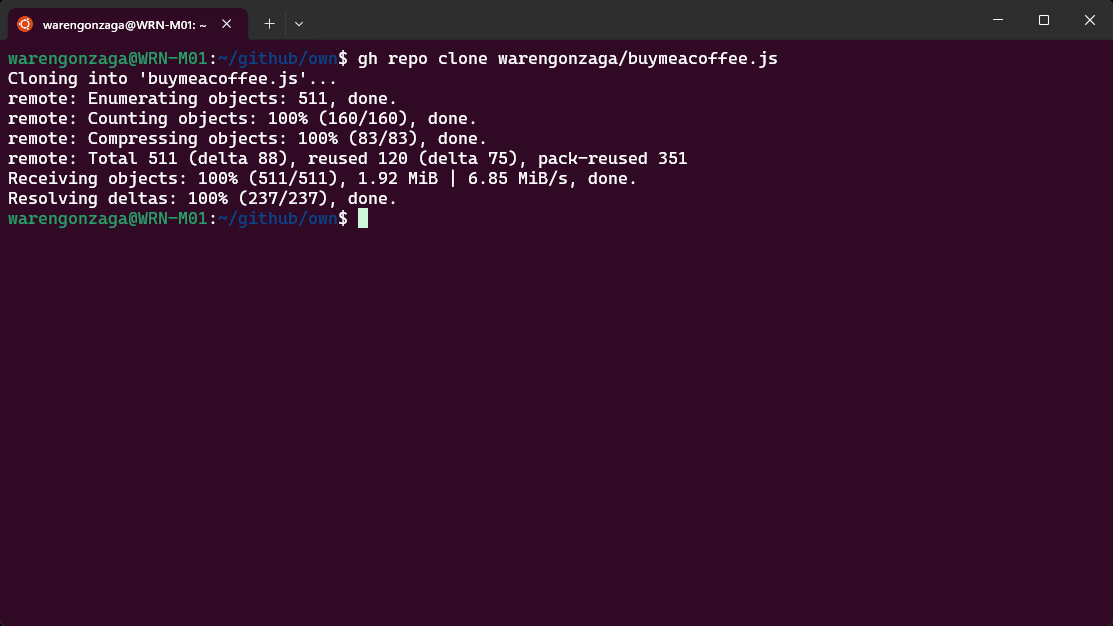
Here's how I clone my project, as you can see cloned directly to my local machine. I'm using WSL on Windows 11. 😅
If you haven't already, Create a
.githubfolder at the root of your project.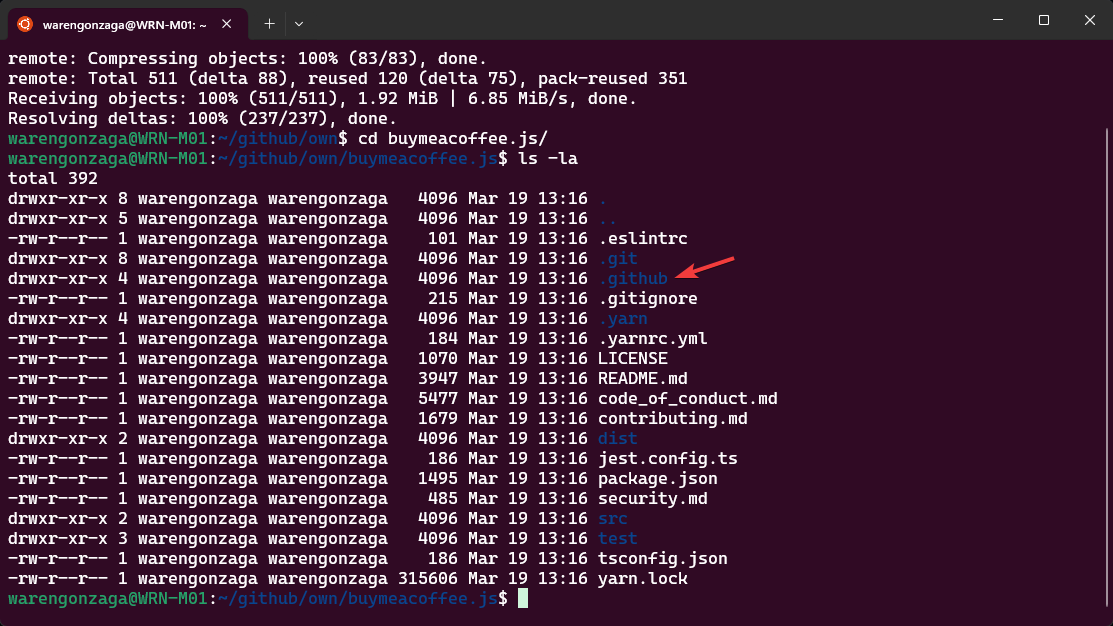
After cloning the project, you'll need to navigate to the project folder. In my case, I use the terminal and
cdcommand to do this. I have already a.githubfolder due to the fact that I'm using Buy Me a Coffee URL before usingcustomsyntax to add my Buy Me a Coffee profile.Inside your
.githubfolder, you have to create another file calledfunding.yml.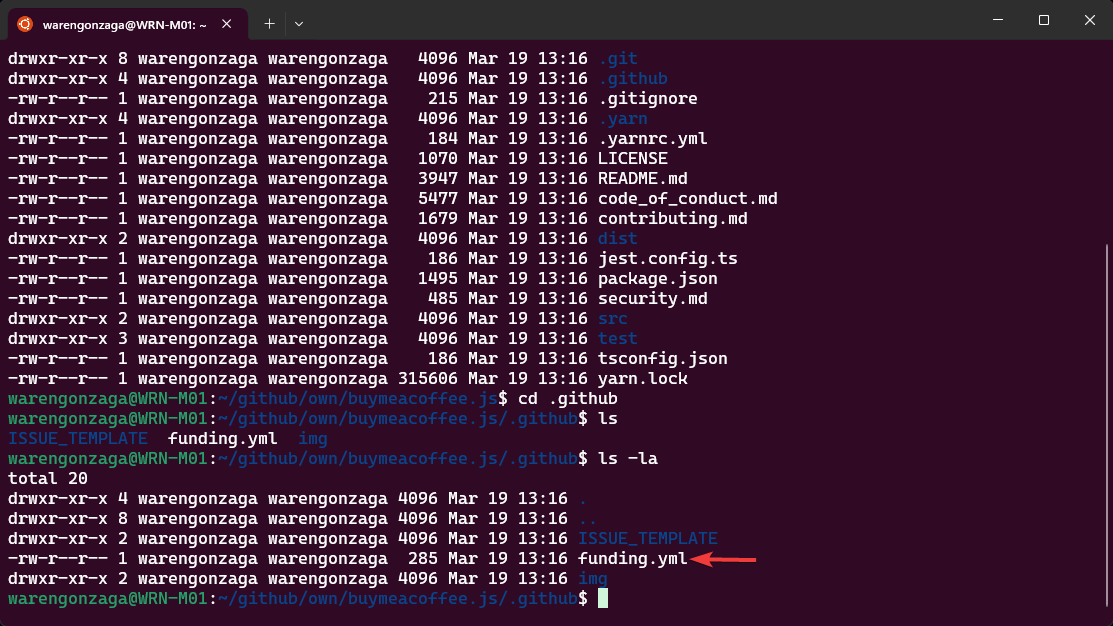
Navigate inside the
.githubfolder and create a file namefunding.yml. In my example, I have already a file name so I will not create another one.You might be wondering why I don't name it as
FUNDING.yml? This is because it is my preference if the file is not so important inside my project I don't use uppercase. Both lowercase and uppercase works when setting up your funding file for GitHub.Open
funding.ymlfile in your favorite code editor in my case I'll use VS Code.
It will open a VS code in my local machine so I can modify the file and enable Buy Me a Coffee button to my opensource project.
Use the following syntax below to specify Buy Me a Coffee platform as your GitHub sponsors button.

You can use comment syntax for your YAML file like in my example. If your account has GitHub sponsors enabled you can add it to your funding tile too. In my case, I have both. You can apply here if you want!
Commit your changes, and push it!

Once, you update your
funding.ymlfile you need to commit your changes and push your updates. In my case, I'm using an AI-powered commit message tool called "Magic Commit" or "magicc" in short. If you like doing manual then follow the Git flow below.
That's it, you should be able to see the Buy Me a Coffee button from your GitHub project's repository homepage.

Enjoy your coffee and happy building! ☕
See you in my next blog... 💖